
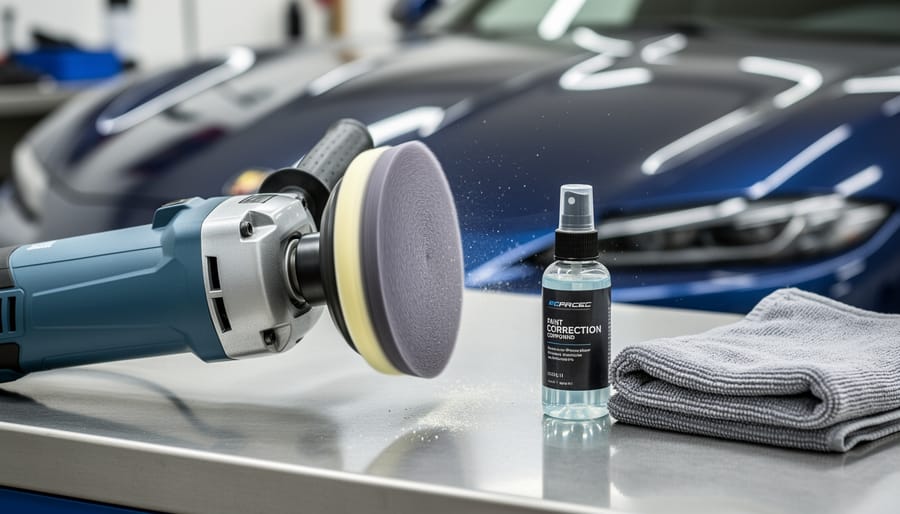
Successful paint correction pairing means matching your polishing compound’s cutting power to the right pad firmness and machine speed, so each component works together rather than against each other. Get this wrong and you’ll either cut too aggressively (creating unwanted scratches) or spend hours making no progress. The relationship is straightforward: aggressive compounds need firm pads and controlled speeds, while finishing products work best with soft pads at higher RPMs.
This skill separates weekend hobbyists from professionals who deliver consistent, repeatable results. Most detailers learn through expensive trial and error, burning through products and damaging paint while they figure out what works. You don’t need to take that path.
The challenge isn’t that any single component is complicated. Modern machines offer reliable performance, pads are clearly labeled by firmness, and compounds tell you their cut level right on the bottle. The difficulty lies in understanding how changes in one element require adjustments in the others. Use a cutting compound with a soft pad and you’ll just generate heat without correction. Pair a finishing polish with a hard pad and you’ll mar the paint you’re trying to perfect.
This guide teaches you the decision-making framework professionals use. You’ll learn how to evaluate paint condition, select your starting combination, and adjust based on real-time results. By understanding the relationships between polishing compound chemistry, pad construction, and machine dynamics, you’ll develop the judgment that turns detailing from guesswork into predictable craftsmanship.
Why Pairing Matters: The Foundation of Paint Correction
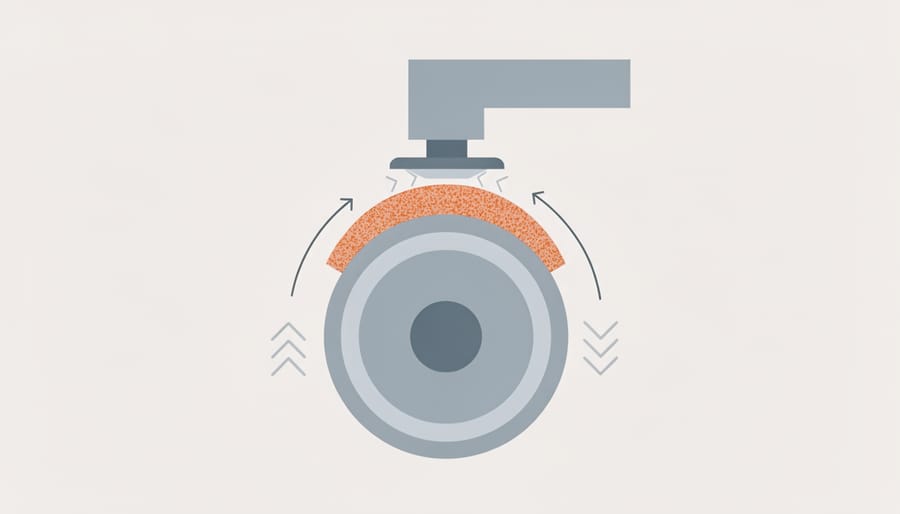
Paint correction isn’t about having the most expensive compound or the latest machine. It’s about understanding how three components work together as a system. Your compound, pad, and machine create a chain reaction: the machine drives the pad, which carries the compound across the paint. Each element amplifies or dampens the others, and when they’re mismatched, you’re fighting against physics instead of working with it.
Think of compound aggressiveness as your cutting potential. A heavy-cut compound loaded with larger abrasive particles can remove deeper scratches, but it needs enough friction and heat to break down those particles properly. That’s where pad firmness comes in. A firm cutting pad generates more friction than a soft finishing pad, creating the heat and pressure needed to activate aggressive compounds. Your machine provides the action, whether it’s the forced rotation of a rotary or the oscillating orbit of a dual-action polisher. Machine speed and torque determine how fast that pad spins and how much force it maintains under pressure.
When these three elements align properly, correction happens efficiently. The compound breaks down at the right rate, the pad maintains consistent contact with the paint, and the machine delivers steady power throughout each pass. You see defects disappear and a clear, reflective finish emerge.
But pair them wrong and frustration follows quickly. Use an aggressive compound with a soft pad and you’ll get inadequate correction because the pad can’t generate enough friction to activate the abrasives. Flip it around, putting a finishing polish on a firm cutting pad with high machine speed, and you’ll see holograms and buffer trails appear as the pad essentially dry-buffs the paint. Run a heavy compound on a finishing pad at low speed and watch it cake up, smear, and do almost nothing to the defects you’re trying to remove.
These aren’t just inconveniences. They’re the difference between a paint correction job that builds your portfolio and one that requires hours of rework to fix your own mistakes. Understanding this relationship separates hobbyists who occasionally get lucky from professionals who deliver consistent results.
Tools and Materials You’ll Need
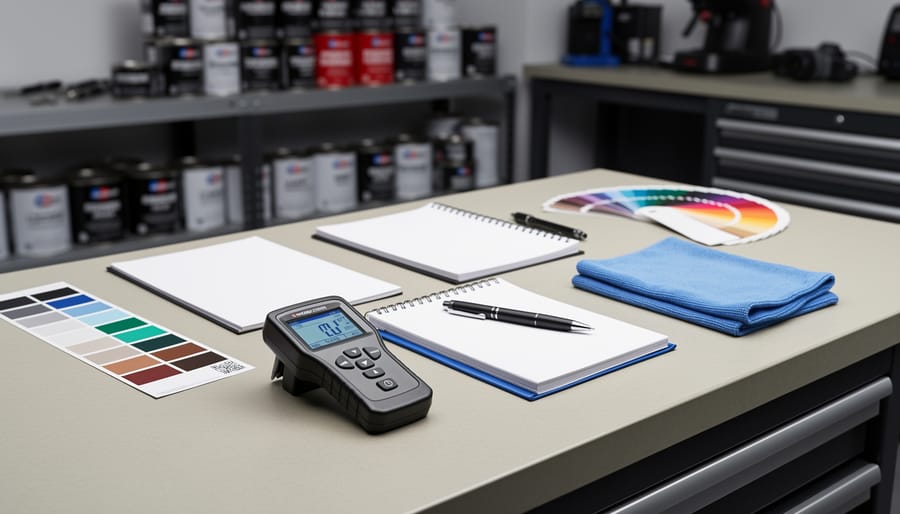
Building a professional paint correction setup requires specific tools that work together as a system. Start with the core equipment, then expand your collection as your skills and client base grow.
Your essential toolkit breaks down into machines, pads, compounds, measurement devices, and prep materials:
Machine Options
You’ll need either a dual-action (DA) polisher or rotary machine as your primary tool. DA polishers offer more forgiveness for beginners, with their orbital motion reducing heat buildup and the risk of burning through paint. Rotary machines deliver more cutting power and work faster, but demand greater skill and attention. Most professionals eventually own both, using DAs for safer all-around work and rotaries for heavy correction or flat panels.
Pad Collection
- Foam cutting pads (firm, typically orange or yellow) for heavy defect removal
- Foam polishing pads (medium density, white or green) for moderate correction
- Foam finishing pads (soft, black or blue) for final polishing and gloss enhancement
- Microfiber cutting pads for aggressive correction work
- Backup pads in sizes matching your machine’s throw (typically 5-inch or 6-inch)
Buy at least two of each pad type so you can swap out clogged pads mid-job without stopping to clean them.
Compounds and Polishes
Stock three compound levels: a heavy-cut compound for deep scratches and oxidation, a medium-cut polish for general correction, and an ultra-fine finishing polish for removing haze and maximizing gloss. Avoid buying every product on the market initially, choose one manufacturer’s complete line so the products are designed to work together.
Critical Measurement and Inspection Tools
A paint depth gauge is non-negotiable for professional work. It tells you how much clear coat remains and whether correction is safe to attempt. LED inspection lights reveal defects and let you verify your results. Without proper lighting, you’re working blind.
Support Materials
Keep plenty of premium microfiber towels for buffing off compound residue, painter’s masking tape for protecting trim and edges, isopropyl alcohol or panel prep spray for surface cleaning, and a spray bottle with water for keeping pads lubricated during correction.
Safety Precautions and Paint Protection
Paint correction generates significant friction heat that can damage or burn through clear coat in seconds if you’re not careful. Before touching a machine to any panel, measure paint depth with a digital gauge, professional standards call for at least 100 microns (4 mils) of total paint thickness, and you should never correct panels below 80 microns. Thin paint from previous correction work, nose sections exposed to road chips, or panels that have been repainted are high-risk areas where excessive heat or pressure can break through to primer or bare metal.
Work in a well-ventilated space when using compounds, most contain volatile organic compounds that produce fumes during the friction heating process. Open garage doors or use fans to maintain air circulation, especially during extended correction sessions. Wear nitrile gloves to protect your hands from chemical exposure and repetitive contact with compounds, and safety glasses to shield your eyes from compound spray that flies off spinning pads.
Inspect panels carefully before starting. Skip correction on areas with cracked or failing clear coat, deep scratches that have penetrated to metal, plastic trim that could melt from heat, or freshly repainted surfaces less than thirty days old. Compromised paint won’t improve with correction, you’ll only make the damage worse. Use masking tape to protect edges, trim, and rubber seals from pad strikes, and never let a spinning pad contact these vulnerable areas. Keep several microfiber towels nearby to wipe panels frequently, which prevents compound buildup and lets you monitor heat levels by touch.
Understanding the Three Components
Machine Types and Their Cutting Action
The machine you choose determines how the compound and pad interact with paint, making it the foundation of your pairing decision.
Dual-action polishers use two simultaneous motions: the backing plate spins while also oscillating in a circular pattern. This creates what detailers call a “random orbital” action that spreads correction work across a larger area and reduces the risk of burning through paint. DA machines typically run between 2,000 and 6,000 orbits per minute. They’re forgiving because their dual motion naturally prevents the pad from staying in one spot too long. You control cutting power primarily through arm pressure and dwell time rather than pure speed. Most beginners should start here because DA polishers make it harder to cause damage while you’re learning to read paint feedback.
Rotary machines spin in a single circular motion at one fixed point, delivering concentrated cutting power directly beneath the pad. They run from about 600 to 3,000 revolutions per minute but generate significantly more correction ability than a DA at similar speeds because all the energy focuses in one spot. This concentrated action cuts faster and removes deeper defects, but it also builds heat quickly and requires steady hand control to avoid holograms or burn-through. Rotary machines demand more skill but become necessary when paint is extremely hard or defects run deep.
Your machine choice dictates everything else: a rotary lets you pair less aggressive compounds with softer pads because the machine provides cutting force, while a DA often requires firmer pads or more aggressive compounds to achieve the same correction level.
Pad Firmness and Material Selection
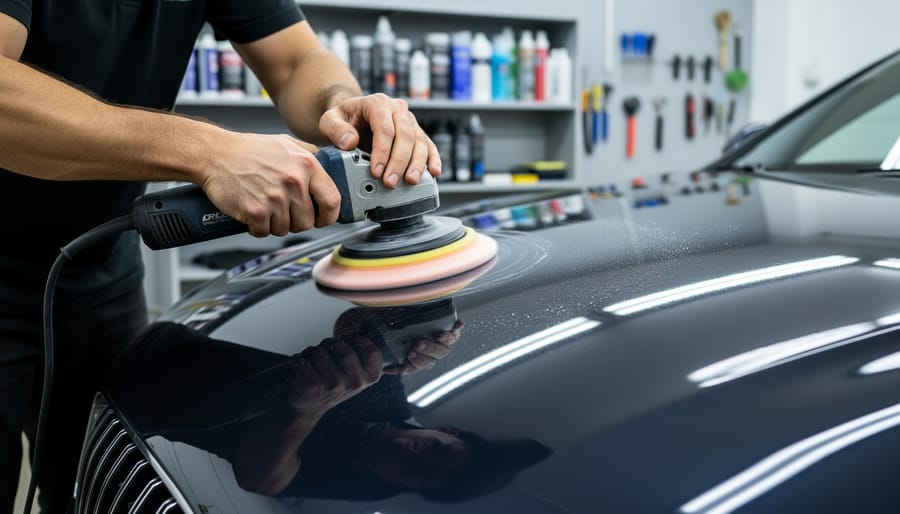
Foam pads arrive in three primary densities that determine their correction capability. Cutting pads use firm, dense foam, typically black or orange depending on manufacturer, that maintains aggressive contact between compound and paint. This firmness concentrates abrasive pressure, removing defects efficiently but requiring skill to avoid creating new marks. Polishing pads feature medium-density foam, usually white or light-colored, that balances correction with refinement. These middle-ground pads work well for moderate defects when paired with appropriate compounds. Finishing pads employ soft, low-density foam that spreads compound thinly, delivering minimal cut while maximizing gloss and clarity.
The firmness directly controls how abrasive particles contact the paint surface. Firmer pads press particles harder against clear coat, increasing cutting action but also heat generation. Softer pads cushion the compound, reducing defect removal but creating smoother finishes with less risk of inflicting new damage.
Microfiber cutting pads provide even more aggressive correction than firm foam. Their fiber structure generates significant heat and cut, making them ideal for heavily oxidized paint or deep scratch removal when used with coarse compounds. However, they demand careful technique because their cutting power easily creates new marks if mishandled.
Wool pads represent the most aggressive option, primarily used with rotary machines for severe correction work. Twisted or blended wool delivers exceptional cutting speed but leaves noticeable marks that require subsequent polishing steps to remove.
Pad diameter matters for machine compatibility. Backing plates must support pad size properly, a 5-inch pad needs a 5-inch or slightly smaller plate. Larger pads cover more area but generate more heat and require more powerful machines to spin effectively.
Compound Abrasive Levels
Compounds are categorized by their abrasive particle size, which directly determines how aggressively they remove clear coat and level paint defects. Understanding this spectrum is essential for choosing the right product for your correction work.
Heavy-cut compounds contain the largest abrasive particles, typically 3-5 microns or larger. These products remove material quickly to level deep scratches, oxidation, and severe swirl marks. The trade-off for this cutting power is a hazy finish that requires additional polishing steps. You’ll use heavy-cut compounds when dealing with neglected paint or significant defects that need substantial leveling.
Medium-cut compounds drop to roughly 1-3 micron particle sizes, offering a balance between correction ability and finish quality. These handle moderate swirls, light scratches, and water spots while leaving less haze than heavy compounds. For many correction jobs, medium compounds serve as your starting point since they can address common defects without the aggressive material removal of heavier products.
Fine polishes use sub-micron abrasives, typically 0.5-1 micron particles. These refine the finish left by cutting compounds, removing haze and minor marring while adding gloss. Fine polishes correct very light defects and prepare paint for protection products.
Ultra-fine finishing polishes contain the smallest particles, often under 0.5 microns or even non-abrasive oils. These products create maximum gloss and clarity, removing any remaining haze from previous correction steps.
Compound diminishing describes how abrasive particles break down during use, becoming progressively finer. Diminishing compounds start cutting aggressively, then refine their own finish as particles fragment. Non-diminishing compounds maintain consistent cut throughout use but require additional polishing steps to achieve a clear finish.
Step-by-Step Pairing Process
Step 1: Assess the Paint Defect Severity
Start by examining the paint under direct LED lighting, swirl marks and light scratches appear as circular patterns that catch the light, while deeper scratches show as distinct lines that remain visible from multiple angles. Run your fingernail gently across suspected defects; if your nail catches, you’re dealing with a scratch that penetrated the clear coat and may require heavier correction or might not be fully correctable.
Use a paint depth gauge to measure clear coat thickness across multiple panels. Most modern vehicles have 80-120 microns of clear coat, but you need at least 50 microns remaining after correction to maintain paint protection. Record measurements for each panel you plan to work on.
Identify oxidation by its chalky, faded appearance and dull finish, it typically requires medium-cut compounds. Swirl marks from poor washing techniques need light to medium correction depending on depth. Heavy scratches, water spots, or severe oxidation demand aggressive cutting compounds.
Create a mental hierarchy of your defects: start with the worst area to determine your maximum correction needs, then assess whether lighter defects across the rest of the vehicle require the same approach or can use gentler combinations.
Step 2: Select Your Starting Compound
Start with the least aggressive compound that can realistically remove the defects you’ve identified. This conservative approach protects the paint and gives you room to step up if needed, while starting too aggressive risks removing excessive clear coat with no way to backtrack.
For light swirls and minor hazing with measured paint depth above 120 microns, begin with a finishing polish or ultra-fine compound. Moderate scratches that catch a fingernail slightly and moderate oxidation call for a medium-cut compound as your starting point. Reserve heavy-cut compounds only for deep scratches, severe oxidation, or wet-sanding marks where you’ve confirmed adequate paint depth exceeds 140 microns.
Most correction work falls into the light-to-moderate category, meaning a medium-cut compound handles the majority of real-world scenarios. Heavy compounds tempt beginners with fast results, but professionals reach for them only when paint condition and defect severity genuinely demand that level of aggression. You can always increase cut; you cannot restore removed clear coat.
Step 3: Match Pad to Compound and Defect
Once you’ve selected your compound, the pad becomes your control mechanism for how that abrasive delivers its correction. The foundational rule: firmer pads increase cutting power, softer pads refine finish quality.
For heavy-cut compounds removing deep defects, start with a firm foam cutting pad or microfiber cutting pad. These dense materials resist compression under pressure, keeping maximum abrasive contact with the paint surface. The firmness helps aggressive compounds bite into defects rather than simply gliding over them.
Medium compounds work best with medium-density polishing pads. These balance correction ability with improved finish, reducing the likelihood of creating new micro-marring while still removing moderate defects.
Finishing polishes require soft foam finishing pads that compress easily. The pliability spreads abrasive particles gently across the surface, maximizing refinement while minimizing any cutting action.
The critical exception: if your test spot shows excessive marring with your initial pairing, drop down one pad firmness level before changing compounds. Sometimes a slightly softer pad with the same compound produces better results than switching to a less aggressive abrasive. Always verify with a small test area before committing to a full panel.
Step 4: Choose Machine Speed and Technique
Machine speed and technique complete the pairing equation by controlling how your compound and pad interact with the paint surface. Your selected combination determines the speed range you’ll work within and the pressure you’ll apply.
Start dual-action polishers at speed setting 4 out of 6 for medium-cut work, adjusting up for heavier correction or down for finishing. Rotary machines require lower speeds, begin around 1200-1500 RPM for cutting and drop to 800-1000 RPM when polishing. The firmer your pad and more aggressive your compound, the lower you can set your initial speed since the combination already generates substantial correction.
Arm pressure should remain consistent and light. Let the machine do the work rather than pushing down. Heavy pressure creates excessive heat and can cause pad stalling on dual-action units. With rotary machines, additional pressure is rarely needed and typically degrades results.
Use overlapping passes in a crosshatch pattern: work the section horizontally, then vertically. Each pass should overlap the previous by fifty percent. Keep the machine moving steadily at about one inch per second. Slower passes with appropriate pressure generate better correction than fast movements with heavy force.
Prime your pad before starting by spreading compound across the work area with the machine off, then power on at low speed to distribute product evenly.
Common Pairing Combinations for 2026
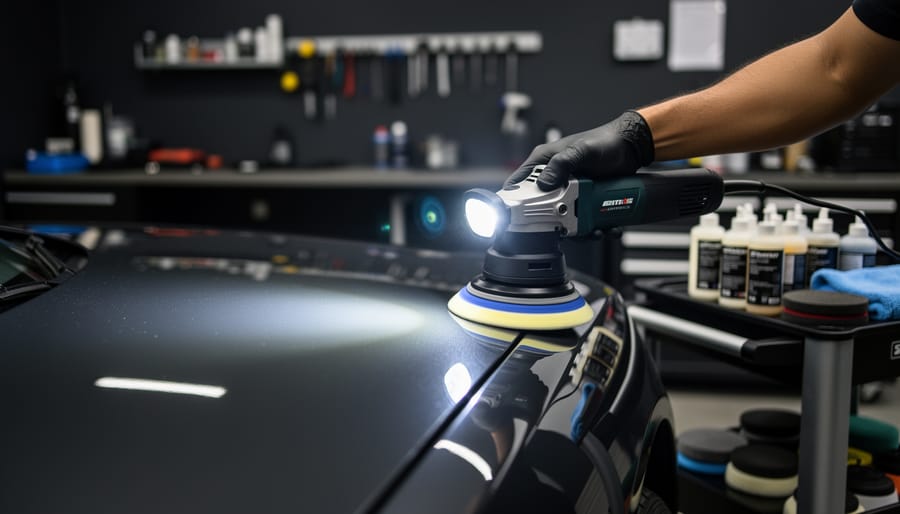
These combinations reflect tested pairings that consistently deliver results across different correction scenarios. Use them as starting points, then adjust based on your specific paint conditions and defect severity.
Heavy Defect Removal (Deep Scratches, Severe Oxidation)
For rotary machines, pair a heavy-cut compound with a wool or microfiber cutting pad at 1000-1400 RPM. This aggressive combination removes deep scratches but requires careful heat management and strong problem-solving skills when results vary across different paint types. On DA polishers, use the same heavy compound with a firm foam cutting pad at speed setting 5-6, making multiple passes to achieve similar correction with less risk.
Medium Correction (Moderate Swirls, Light Scratches)
DA machines work exceptionally well here: pair a medium-cut compound with a medium-density orange foam pad at speed 4-5. This combination handles most common paint defects without aggressive techniques. Rotary users can achieve faster results using the same compound with a softer foam cutting pad at 900-1200 RPM, though this requires more experience to avoid hazing.
Light Polishing (Fine Swirls, Minor Marring)
Use a light-cut polish with a soft white or black finishing pad on either machine type. DA polishers run at speed 3-4, rotaries at 600-900 RPM. This pairing refines surfaces after heavier correction or addresses minor defects on newer vehicles.
Final Finishing (Jeweling, Hologram Removal)
Pair an ultra-fine finishing polish with a very soft black foam pad. DA machines at speed 2-3 work perfectly for this stage, while rotaries require 400-600 RPM and a delicate touch. This combination creates deep gloss and removes any micro-marring from previous steps.
Start conservative within each category, you can always increase aggressiveness, but you can’t undo paint removal.
Testing and Verifying Your Results
Before committing to a full panel, run a test spot on an inconspicuous area like a door jamb or lower section of the panel. Work a 12-inch by 12-inch square using your chosen pairing, then let the area cool for five minutes before evaluation. This cooling period matters because heated paint can mask defects that appear once the surface returns to ambient temperature.
Inspect your test spot under direct LED work lights held at multiple angles, not just overhead fluorescent shop lighting. Move the light source slowly across the surface while keeping your eyes on the reflection, watching for telltale signs of hazing, buffer trails, or hologram patterns that indicate your pairing is too aggressive or your technique needs adjustment. The paint should reflect cleanly without distortion or rainbow swirling effects.
After visual inspection under proper lighting, verify correction quality against these key points:
- No new marring, scratches, or haze introduced by the correction process
- Targeted defects reduced or eliminated (swirls lighter, scratches less visible)
- Uniform finish across the entire test area without streaks or patches
- No holograms or buffer trails visible under LED inspection light
- Paint surface feels smooth to a clean microfiber cloth drag test
Estimate your correction percentage by comparing before and after states. A 70 to 80 percent reduction in visible swirls typically represents successful medium correction work. If you achieved less than 50 percent improvement, your pairing may be too conservative. Conversely, if you removed defects but introduced new marring, you went too aggressive. Document what worked by photographing the test spot and noting the exact compound, pad, machine speed, and number of passes used. This record becomes your reference for the full correction job and builds your knowledge base for future projects with similar paint systems.
When to Adjust Your Pairing
When your results don’t meet expectations, systematic troubleshooting separates skilled professionals from guesswork. Recognizing the warning signs and adjusting methodically turns failed attempts into learning opportunities that build your expertise.
Insufficient correction after multiple passes means your pairing is too conservative. The compound lacks enough abrasive strength, the pad is too soft to generate cutting action, or your machine speed is too low. Step up one component: try a firmer pad with the same compound first, then increase speed slightly if that doesn’t work. Only switch to a more aggressive compound if those adjustments fail.
New marring, hazing, or hologram patterns indicate the opposite problem: your pairing is too aggressive for the finish stage. This happens when you use cutting pads with finishing polish, run excessive speed on soft paint, or apply too much pressure. Drop to a softer pad while keeping the same compound, reduce your machine speed by 1-2 settings, and lighten your arm pressure. If hazing persists, you need a finer finishing polish.
Excessive heat buildup warns you’re creating friction faster than the compound can lubricate. The pad may be too firm, you’re working too small an area, or the compound is breaking down too quickly. Work a larger section with slightly more product, reduce speed, or switch to a pad with better heat dissipation properties.
Compound drying too quickly before it finishes means insufficient lubrication for your pad-machine combination. Add slightly more product per section, reduce machine speed to generate less heat, or switch to a compound formulated for longer working time. Pad clogging signals you’re removing material faster than the pad can release it: clean the pad more frequently, reduce pressure, or use a less aggressive pad that won’t load up as quickly.
Track each adjustment in your correction notes. This documentation becomes invaluable reference material as you develop pairing intuition, much like maintaining records supports effective career management in any skilled trade. The ability to diagnose problems and adjust systematically is what employers value when considering professional certifications or evaluating candidates for paint correction roles. Building this troubleshooting skillset accelerates your career path and demonstrates the practical competence required for skilled trade certification in automotive detailing.
Building Your Professional Skillset
Mastering compound-pad-machine pairing isn’t something you’ll achieve in a weekend. Professional detailers spend years developing the judgment to select the right combination instinctively, and you’re building the same expertise through deliberate practice.
Start a correction journal immediately. After every panel you work on, document the exact combination you used: compound brand and type, pad model and condition, machine speed setting, number of passes, and the results you achieved. Note the paint type, defect severity, and whether you needed to adjust your approach mid-panel. This record becomes invaluable when you encounter similar conditions months later, you’ll have proven combinations to reference rather than starting from scratch.
Practice on scrap panels or your own vehicle before accepting paid work. Find a local body shop willing to sell you damaged hoods or doors for practice. Work the same panel with different pairings to see how results change. This costs you time and materials, but it’s how you develop real competence without risking a customer’s vehicle.
Invest in quality equipment as your skills justify it. Start with a reliable mid-range DA polisher and a basic pad selection. As you master those tools and begin taking on more challenging correction work, upgrade strategically, a professional-grade machine, premium pads, or specialty compounds that expand your capabilities.
Seek out experienced detailers willing to mentor you. Many professional shops offer paid training programs or apprenticeships. The knowledge you gain watching a skilled technician make pairing decisions in real-time is worth months of solo experimentation.
Frequently Asked Questions
Starting your paint correction journey brings up practical questions about pairing decisions. Here’s what detailers commonly ask when developing their system-matching skills.
Can you use any pad with any compound?
While physically possible, effective pairing requires matching pad firmness to compound abrasiveness and defect severity. Using a soft finishing pad with a heavy cutting compound wastes the compound’s potential, while pairing aggressive compound with too firm a pad on soft paint risks burning through the clear coat.
How do you know if a pad is too aggressive for your compound?
If you’re creating new marring, seeing hazing instead of clarity, or generating excessive heat quickly, your pad is likely too firm for that compound on that paint. The combination should refine the surface progressively, not introduce new defects.
When should you step up to a rotary machine?
Move to a rotary when dual-action polishers can’t remove severe defects after proper testing, or when working on extremely hard paint that resists DA correction. Rotaries demand more skill because they concentrate cutting power in one spot, making paint burn-through easier if you lack experience.
How many pads do you need to get started?
Start with three pad types in one size that fits your machine: a firm cutting pad, medium polishing pad, and soft finishing pad. Buy at least two of each so you can continue working while cleaning used pads, giving you six total for consistent workflow.
What’s the minimum investment for professional-level work?
Expect to spend $400 to $600 for a quality DA polisher, paint depth gauge, proper lighting, initial pad and compound selection, and essential accessories. This covers the tools needed to practice pairing correctly, though building a complete professional kit will cost considerably more as your skills develop.
Should I buy expensive compounds when learning?
Mid-tier compounds from established brands give you better consistency for learning proper pairing than budget options, which often behave unpredictably. You don’t need the most expensive professional lines yet, but reliable products help you understand how correct pairings should perform.
These questions reflect the decision points you’ll face regularly as you build pairing expertise. The answers change slightly as you gain experience with specific paint types and develop preferences for certain product combinations, but the underlying principles remain constant. Don’t expect to memorize every possible pairing scenario. Instead, focus on understanding why certain combinations work so you can make informed adjustments when facing new correction challenges.
Mastering compound-pad-machine pairing separates skilled detailers from those who rely on luck. This system transforms paint correction from trial-and-error into a repeatable trade where you can predict outcomes before you even touch the panel.
Start conservative. Choose less aggressive combinations than you think you need, test your results, and adjust methodically. Keep a correction journal documenting which pairings worked for specific defects and paint types. This record becomes your professional reference library, built from real experience rather than generic advice.
Professional detailers spend years refining these pairing decisions. Your first attempts won’t be perfect. You’ll create some haze, misjudge compound aggressiveness, or burn through finishing polish too quickly. These mistakes teach you the subtle relationships between components that no article can fully convey.
The knowledge you’ve gained here provides the framework, but expertise comes from deliberate practice. Each panel you correct sharpens your judgment about which compound needs which pad on which machine. This systematic approach to pairing is what makes paint correction a skilled trade worth pursuing professionally, not just a weekend hobby.